
How to Install LED Strip Lights — A Step-by-Step DIY Guide
A lot of people shopping for LED strip lights wonder if they can install them on their own. The answer is yes — as long as you follow a systematic process from selecting the right materials and cutting the strip, through to wiring. The big advantages of SMD LED strips are consistent brightness, a wide range of color temperature options, and significantly lower energy consumption compared to conventional bulbs.
Installing LED Strip Lights — Step by Step
Connect the LED strip to the power supply and confirm it lights up normally before starting the actual installation. Most LED strips come with circuits and resistors pre-installed — no extra components needed.
Measure the exact length of each position where the LED strip will be mounted. This determines how many segments to cut and helps you plan cable routing properly.
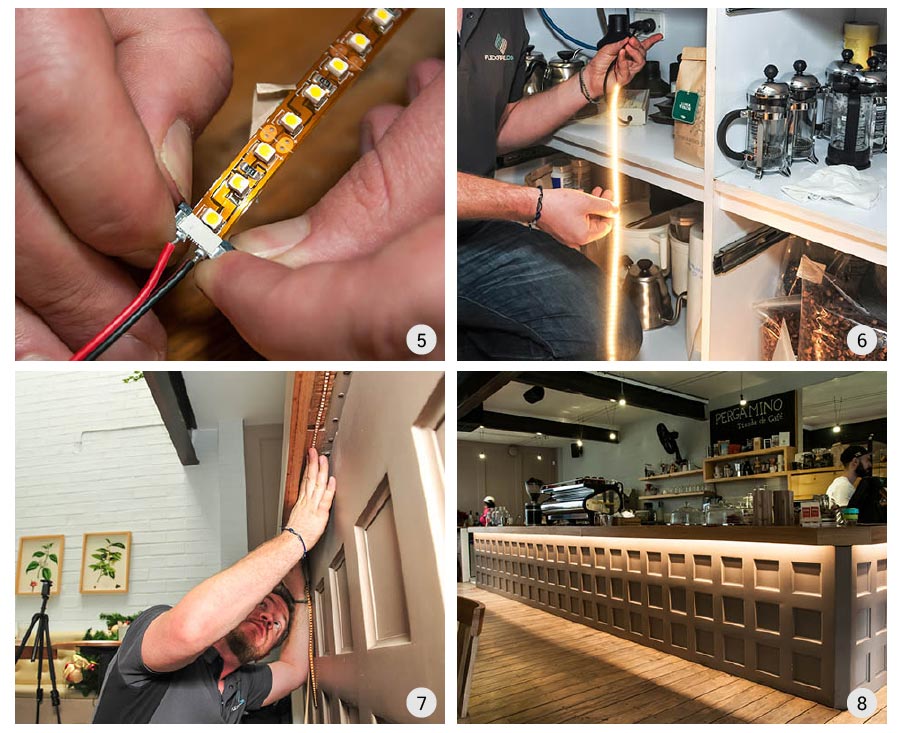
LED strips have clearly marked cut points — look for the cut line and the positive (+) / negative (−) terminal symbols. Cutting anywhere else will damage the circuit.
Choose between soldering or a clip-on connector depending on what you're comfortable with. Clip-on connectors are faster and easier; soldering gives a more permanent, secure connection.
Especially when joining multiple segments — loose connections at joints are common. Testing beforehand saves you from having to fix things up high or in tight spaces later.
Clean the surface thoroughly — it must be dry, dust-free, and grease-free. Then apply high-quality double-sided tape. Some installations use hot glue for extra grip on tricky surfaces.
A dimmer lets you tune brightness to match the mood. Wire it into the circuit before the LED strip input, and mount it somewhere easily accessible for adjustment.
Turn it on and check for consistent brightness along the full length of the strip. Adjust the dimmer to match your plan. If any section is out, check the wiring connections at each joint.
LED Strip Installation in Action

Where Can LED Strip Lights Be Used?
Concealed inside the sign structure for even, professional-looking illumination. SMD 2835 LED strip is the go-to choice for this application.
Hidden ambient lighting that adds atmosphere and safety in low-light areas. Typically uses 12V LED strip paired with a dimmer.
Highlights products and draws attention. Choose a color temperature that complements the merchandise and matches the store's overall aesthetic.
Easy to install and remove. Pair LED strip with aluminium channel profiles for a clean, portable temporary lighting solution.
Frequently Asked Questions — LED Strip Lights & SMD LEDs
Need LED Strip Lights for Signage or Interior Decoration?
Talk to our team for free advice on choosing the right LED strip for your project.